
 I made the above wreath for spring a few days ago, not too shabby. I was semi inspired by a wreath I saw Kimba make over at A Soft Place To Land, you can go here to take a looksie at hers.
 Pretty much most of the new materials I used came from the dollar store. I bought the petals, ribbon and yarn there. Everything else I already had on hand. Let me show you what I did.
 I started with this wreath. Cute, way too many bows. So I snipped some off with my pruners (and saved them for another project). After my pruning, I ended up with the large one on the bottom and two on each side.
 To make the large center flower I started with a metal lid from a juice container. I cut some vintage ribbon into "leaves" and glued them down. Then I stared with the flower petals, starting on the outside and working my way in. I used a button as the center for each flower.
 This is what I ended up with when I was done with the flowers. Cute, no? I thought they were a bit too white, so I misted them with some diluted Tim Holtz distress ink that I put in a spray bottle. If you want to see what I'm talking about, watch my latest You Tube video here.
**On a side note, you can always watch any of my videos by clicking on my "vintage tv" link on my sidebar, all my videos are there on my You Tube channel. Ok, end of shameless plug**
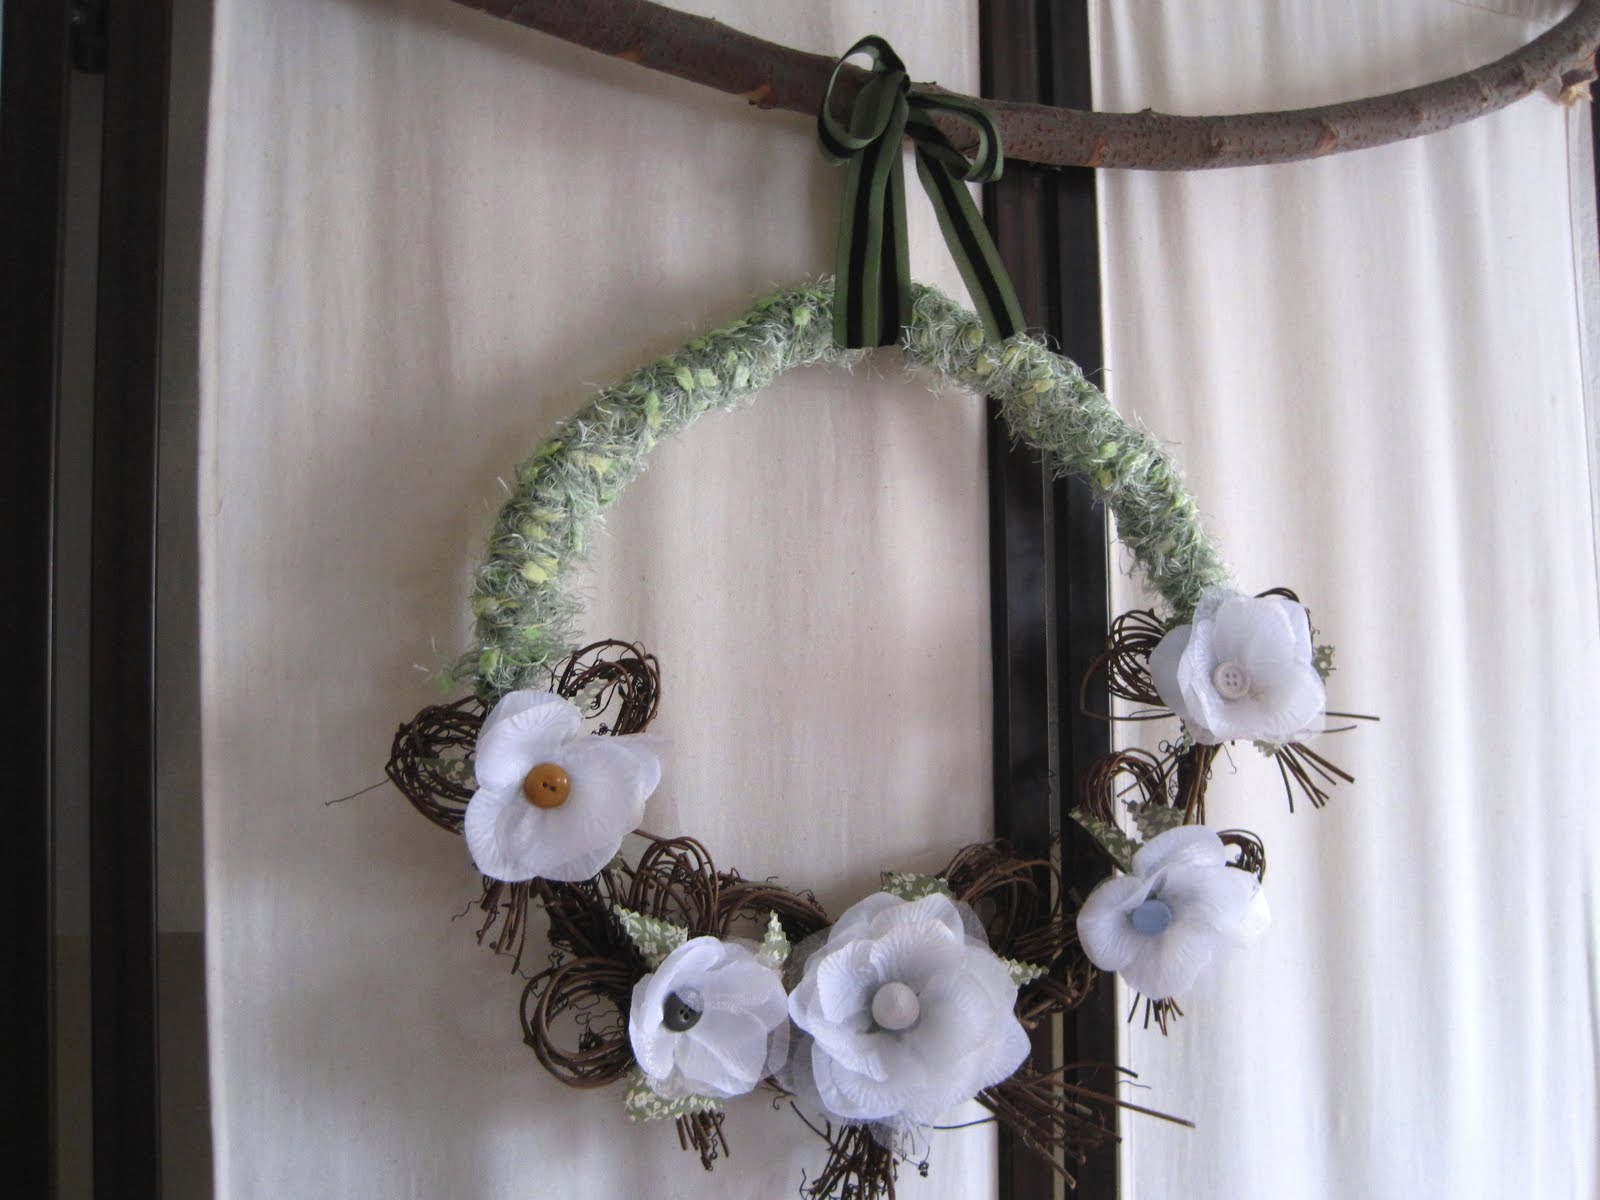 I then used fluzzy (a combo of fluffy and fuzzy) green yarn purchased from the dollar store to wrap the top section of the wreath. I would have wrapped the entire thing, minus the bows, but it was almost impossible to get the yard in between those bows.
I used the green ribbon (also from the dollar store) as my hanger and I called it a day. I have it hanging over my couch. In retrospect, I would have used hot glue to attach everything so I could hang the wreath outdoors. But I didn't, so it's an indoor wreath instead.
Please click on "Linky Parties I Love" on my sidebar to see where I'll be linking up this project and to see lots of other sources of inspiration. Thanks!


No comments:
Post a Comment
I treasure your comments!