Wednesday, March 23, 2011

Unmotivated and Uninspired

So, as a few of you might have figured out by now...I've not been around much lately.

It's not that I don't want to blog or read blogs, really.

It's just that I have, well..

nothing.

I've been feeling very unmotivated and uninspired lately. My creative juices just haven't been flowing. I'm not sure why, I'm just kinda in a lull I guess.

Lots of rain and dreary days might have something to do with it. But maybe not, I can't say that is all it is.

You ever just go through phases where you just don't have the mojo to do much of anything? I think I'm there. Lots of things around the house are kinda just hanging out. Laundry, dishes, cooking, etc. Last night, as we were scarfing down our In and Out burgers, my oldest asked, "Mommy, can we have dinner at home tomorrow night?" Ouch.

I'm reading all these organizing posts, cleaning and de-cluttering posts, and I just don't wanna. Am I bad for that? I normally do get the spring cleaning bug, but that bug hasn't been to my house yet. I did get a cold bug though, that's been lovely.


However, today I DiD manage to clean out our medicine cabinet. Baby steps, right? Excuse the picture, believe it or not that is as clean as the inside of that thing gets. It's a very OLD (or retro, depending on how you look at it) cabinet, and I am afraid to remove it because who knows what is behind there. The last thing I need is the Landlord having a hissy fit, so the cabinet stays.

Anyhoo, enough of my rambling. I just wanted to let you know that I haven't given up on my blog, or on your blogs, or on you. I'm just not feelin' it right now.

Be patient with me, I'm gonna surface soon...I can feel it.

Saturday, March 19, 2011

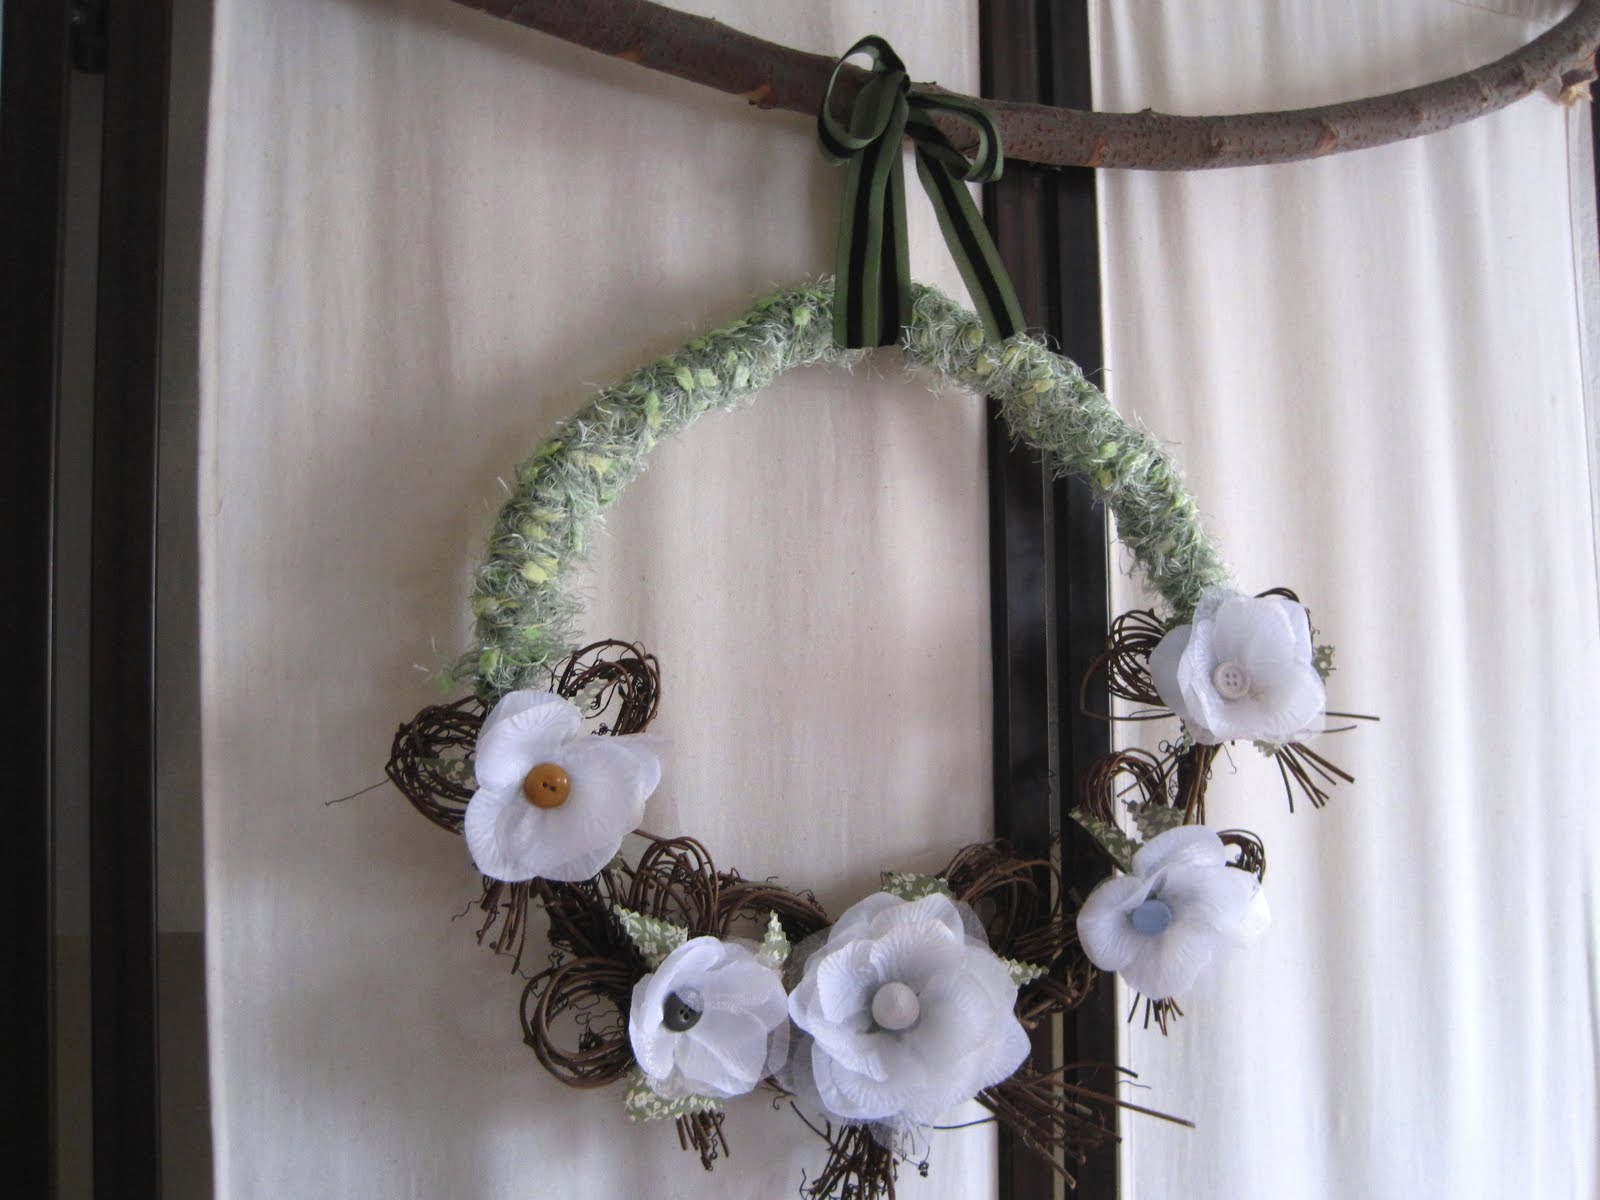
Floral Twig Wreath


I made the above wreath for spring a few days ago, not too shabby. I was semi inspired by a wreath I saw Kimba make over at A Soft Place To Land, you can go here to take a looksie at hers.

Pretty much most of the new materials I used came from the dollar store. I bought the petals, ribbon and yarn there. Everything else I already had on hand. Let me show you what I did.


I started with this wreath. Cute, way too many bows. So I snipped some off with my pruners (and saved them for another project). After my pruning, I ended up with the large one on the bottom and two on each side.

To make the large center flower I started with a metal lid from a juice container. I cut some vintage ribbon into "leaves" and glued them down. Then I stared with the flower petals, starting on the outside and working my way in. I used a button as the center for each flower.

This is what I ended up with when I was done with the flowers. Cute, no? I thought they were a bit too white, so I misted them with some diluted Tim Holtz distress ink that I put in a spray bottle. If you want to see what I'm talking about, watch my latest You Tube video here.

**On a side note, you can always watch any of my videos by clicking on my "vintage tv" link on my sidebar, all my videos are there on my You Tube channel. Ok, end of shameless plug**

I then used fluzzy (a combo of fluffy and fuzzy) green yarn purchased from the dollar store to wrap the top section of the wreath. I would have wrapped the entire thing, minus the bows, but it was almost impossible to get the yard in between those bows.

I used the green ribbon (also from the dollar store) as my hanger and I called it a day. I have it hanging over my couch. In retrospect, I would have used hot glue to attach everything so I could hang the wreath outdoors. But I didn't, so it's an indoor wreath instead.

Please click on "Linky Parties I Love" on my sidebar to see where I'll be linking up this project and to see lots of other sources of inspiration. Thanks!

Monday, March 14, 2011

Cutting Board Signage

So my hubby made this cute little piggy cutting board in jr high, but it's been sitting in a drawer for years not being used. It's a bit too...um, gross to use as a functioning board but I couldn't toss it. He made it after all. So the other day I finally had an idea, make a sign out of it!

I stencilled "eat" on it and I think it fits into our little kitchen just perfectly. I first used white acrylic paint, followed by a coat of red. I then sanded the letters to give it that weathered look. I then took brown shoe polish and "aged" the board, especially around the edges and also to darken up the letters a bit. The red was way to bright otherwise.

Don't have a cute board to use? Keep your eyes out while junking and I can guarantee that you'll find one. Make a cute sign for your kitchen, it's easy!

Linking up this idea at my fave linky parties. Please click on "Linky Parties I Love" in the upper right hand sidebar to see more great ideas!